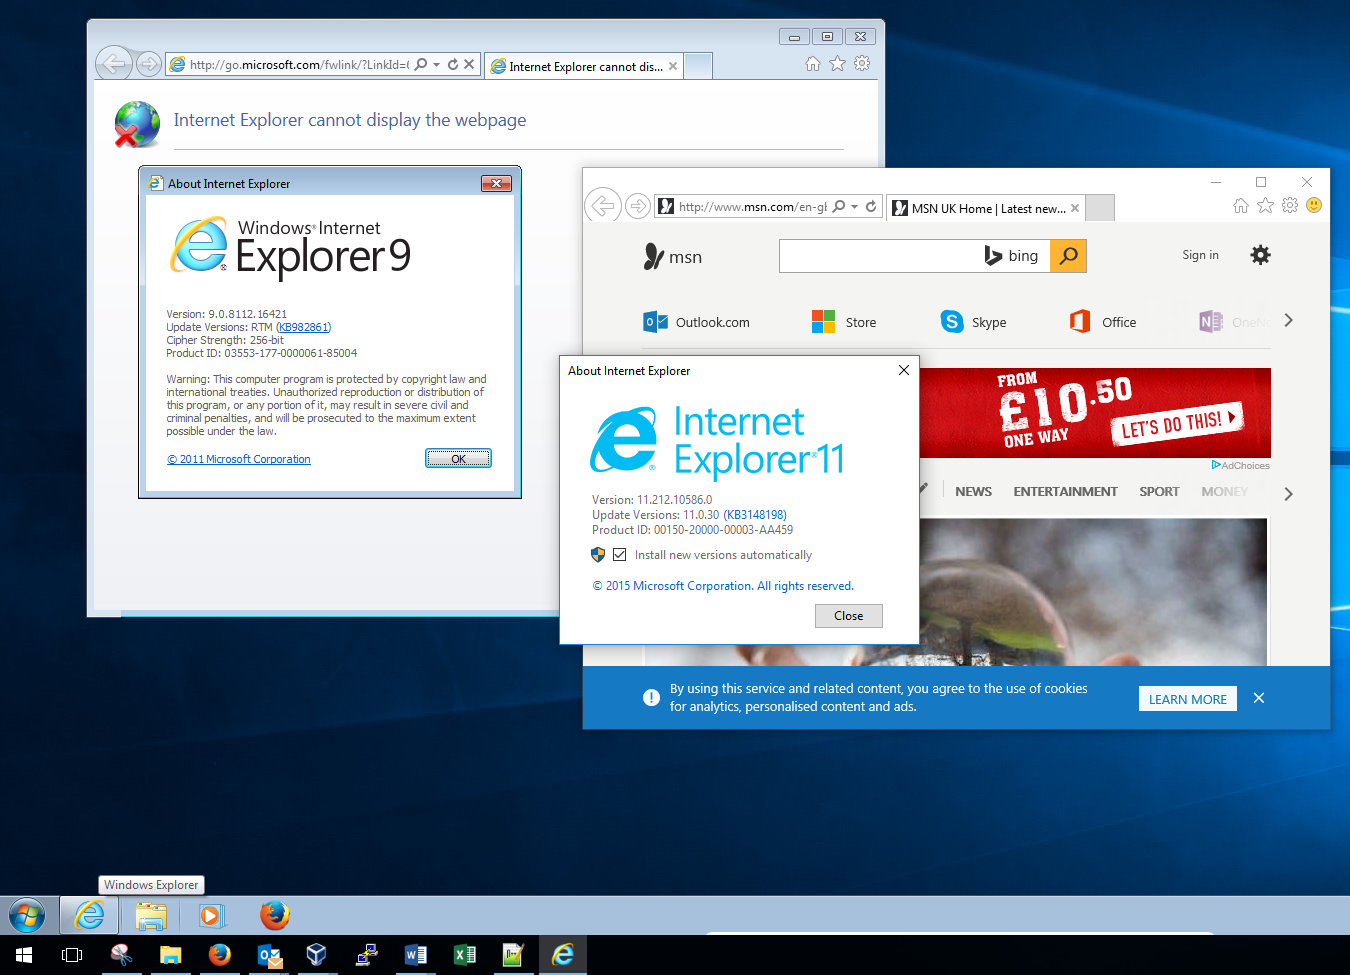
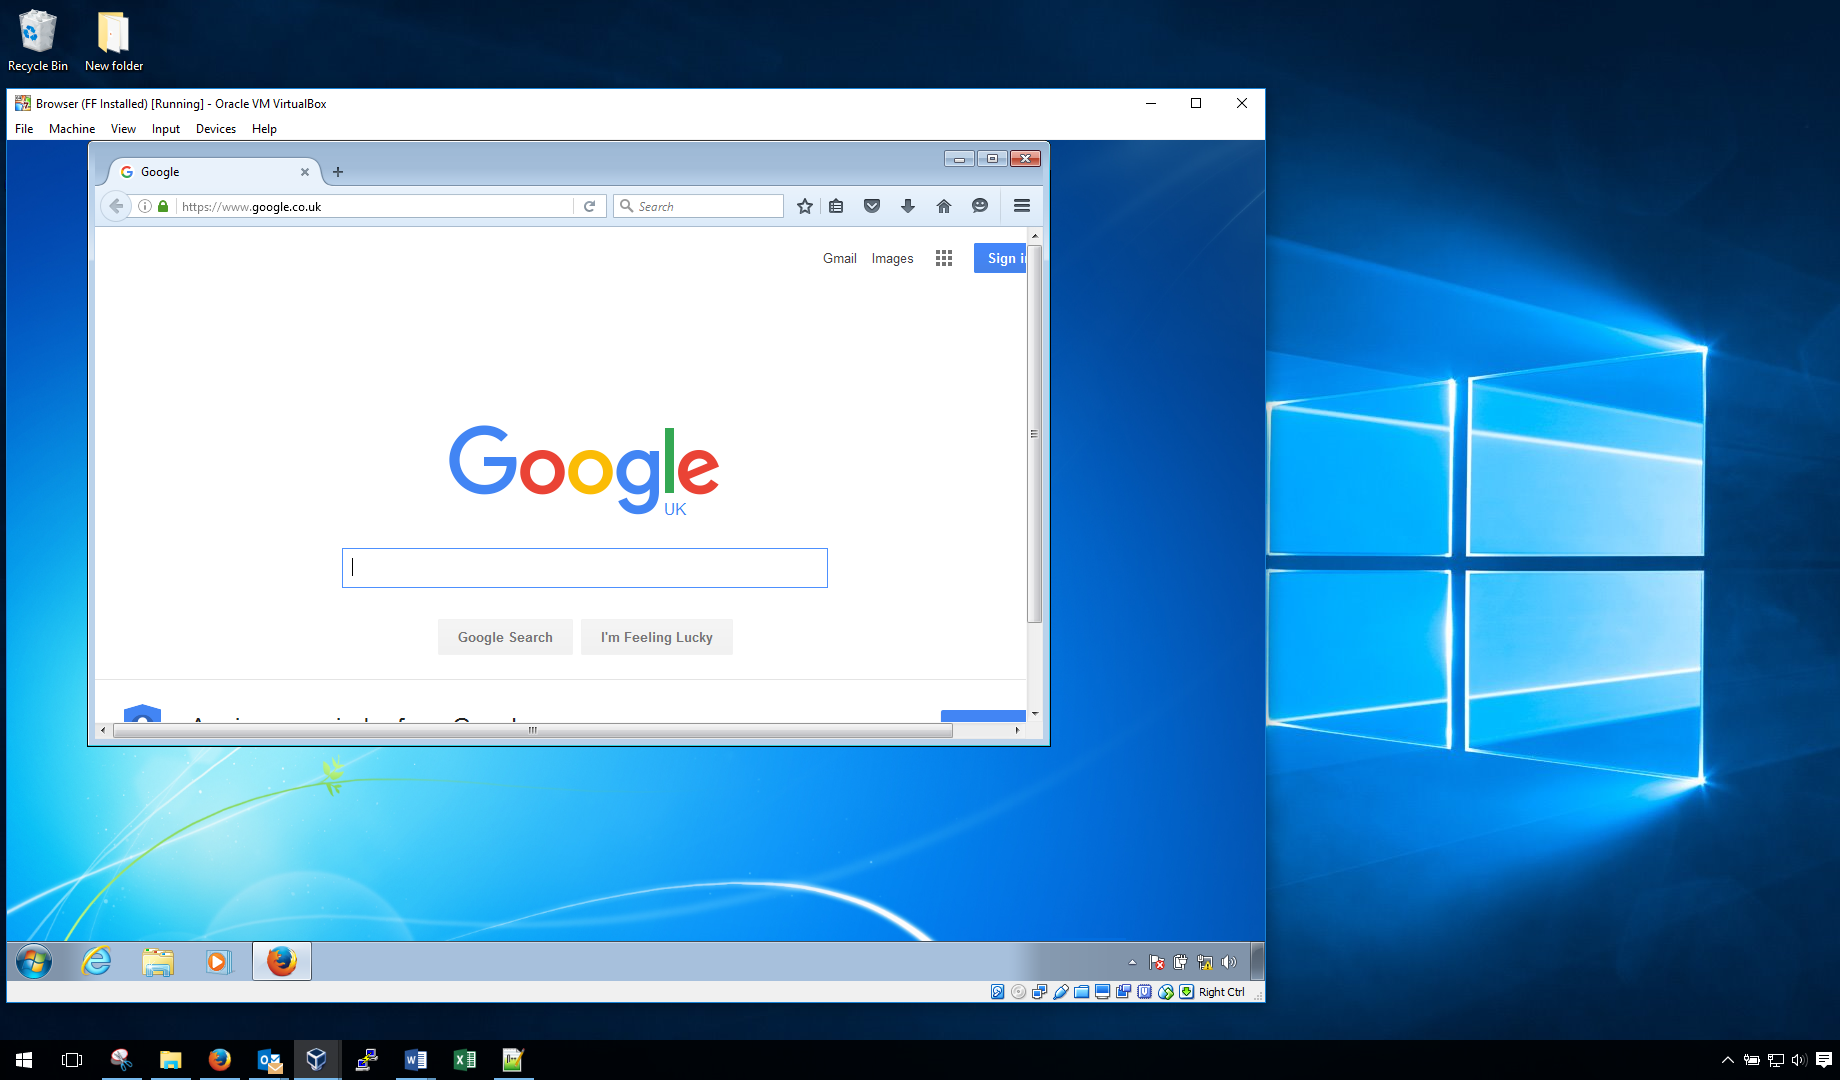
 Seamless window integration of two separate operating systems, with isolated network stacks.
Ransomware poses a real risk to every day web surfers. There are multipule attack vectors, drive by downloads, compromised sites and malvertising to name just a few are all huge areas of risk. This leads some to want seperation or sand boxing of their web browser, either for some of their browsing or all of it.
The main motivation here is separation for risk reduction and security, not privacy/anonymity.
With browser security under screwtany, things are improving however with problem after problem with 3rd party addons and browser plugins, scripting issues, 3rd party code includes and so on, the web is full of risk areas before you even consider malvertising compromised sites or cross site scripting.
Moving beyond ad or script blocking
 By utilising VirtualBox, you can build a (mostly) separate computer for your browser. Minimising risk through separation using a Virtual Machine Sandbox.
Whilst using a physically separate computer provides better security to your ‘main’ system, it is impractical in the majority of cases. Creating a Virtual Machine sandbox, with some clearly understood elements of integration between the two systems provides much better functionality and end user experience, whilst maintaining a significantly higher level of security.
Why not other approaches?
As a former user of No Script, I became a little tired of picking through the many scripts to try and unpick what web developers were thinking in a drive to make the sites function again. I was also very aware of a quick ‘allow all on this page’ one lazy day could undo years of time consuming script inspection. This is not the solution for the faint hearted and not something I could recommend to may.
Ad Blocking? Ok so this protects against some threats such as Malvertising, however it does not address any other risk factors and therefore leaves massive areas for bad actors within the browser. We are also now in a world of Ad Blockers, Ad Block Blockers and Ad Block Blocker Blockers.
Sandboxing via Sandboxie? This does not stop the browser reading files on your system.
Physically separate system? Ok, but lets face it, who runs a separate PC for ALL of their browsing…. not many. If you are doing any amount of browsing from your PC then this option could help secure the browsing.
What do I need?
You will need to download and install VirtualBox. You will also need either a Windows Licence and media, or a copy of Linux. I have used both Windows and Ubuntu in this browser isolation technique successfully. I recommend having an ISO image of the disk for easy build and rebuild should you wish.
Configuring Virtual Box
Once you have created a basic Virtual Machine selecting either the Windows or Linux templates, you will need to make some changes. These adjust the security and functionality. Some improve security and separation, whilst others create openings between the Virtual Machine and your host computer.
Which of these changes you make is personal preference, and down to your use case and requirements. For example, if your worried about malware within the browser reading clipboard content on the host OS, or if you are worried about file encryption malware.
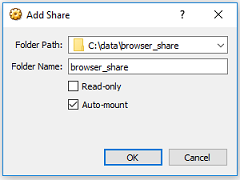
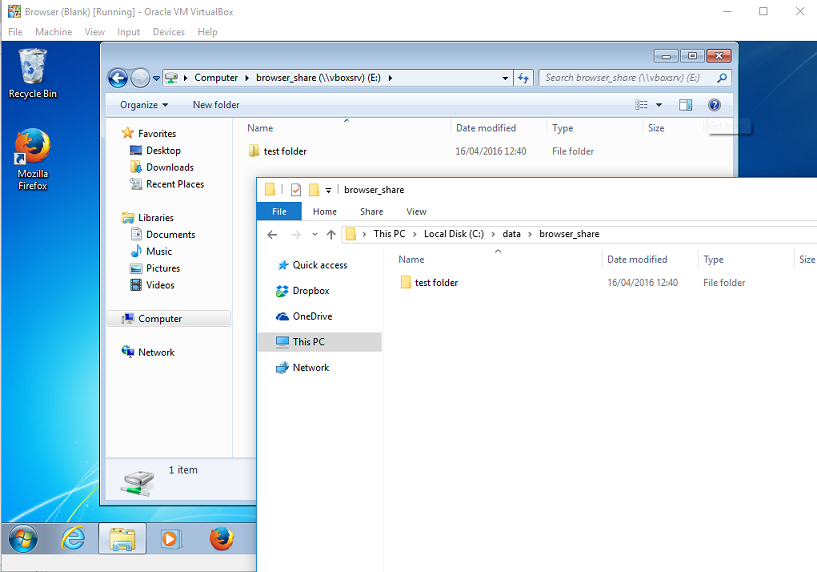
When you access web content, you are likely going to want to download files. If your then going to need these on your ‘main’ system, you will need a seamless way to export these files. Consider setting up a share between the VM and your host system. You should create a sub folder for this, and share this to protect your other files and the rest of your host PC from any security risks. Eg: have a temporary downloads folder, accessible from both systems.
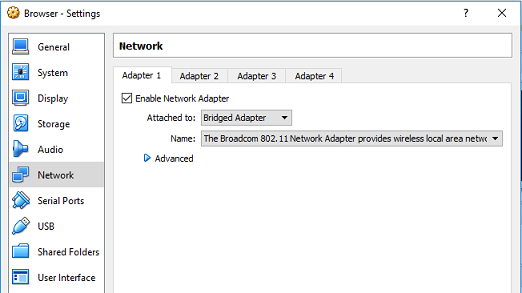
When configuring your networking, you have several options.
NAT – The VM will share your PC’s IP address. However your PC and the Browser will each have an IP address on an internal NAT network. You will need to factor in host firewall security.
Bridged – Your host PC will push the browser VM to the main network (either wired or wireless depending on your configuration). You will then be able to protect the two systems from each other as if they were separate network devices. Review your hosts Windows Firewall security configuration. (Likely the best option)
Internal – Not appropriate.
USB – See below, under “Looking for better network separation?”
You will then need to install either Windows or Linux. eg: Ubuntu. In this case, I have installed Windows 7.

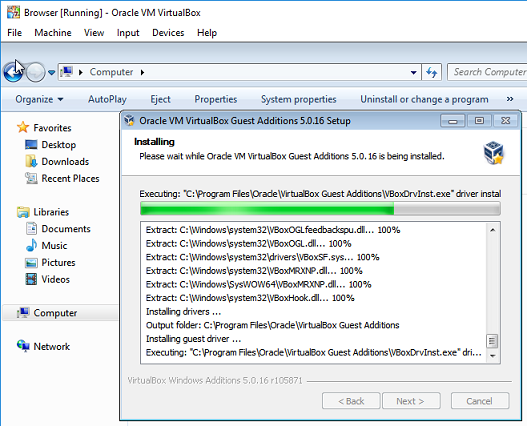
Whichever OS you install, you can install the guest tools to unlock integration including clipboard and folder sharing. Even if you do not want these features, you can switch them on and off, the tools will help ensure your guest VM behaves correctly.
Consider how you wish to interact with your browser, eg: you may wish to copy links from the host to the guest… or you may wish to copy webpage text from the guest to the host. Set this to your requirements, just remember that if the guest can read your host clipboard, then it can read your clipboard all the time. This type of risk is reduced later with read only disks and snapshot reverts.

As per the above, configure a set sub folder to be shared with the VM if you want to seamlessly move files. However if you share too much, the guest browser VM will have access to it.
Once you have your system installed, updated and correctly configured it is best to take a snapshot. This will save the state of the system by creating a differencing image file, where any new disk writes are stored. Your live VM will behave normally but you will be able to revert to the snapshot.
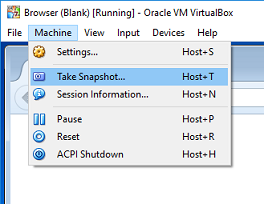
Once you are up and running you will find you need to patch / update your browser and browser guest operating system. I would recommend when you need to do this, you revert the VM to a known clean snapshot, perform the updates and take a new snapshot. Once you are happy all is well you should delete any snapshots that are no longer required as managing these will be come more complex and slow performance over time.
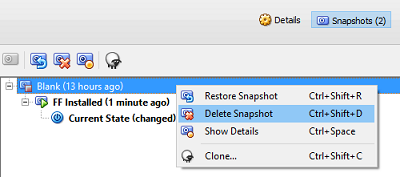
When you want to refresh your browser, eg: clean the session, drop any malware stuff etc from the guest OS, then revert to a known clean snapshot. You may choose to do this daily, and/or after visiting untrusted content etc etc.

Investigate the display modes to play with seamless window integration.
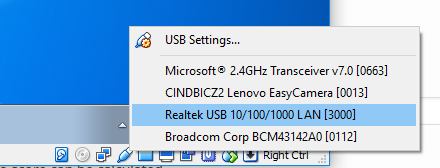
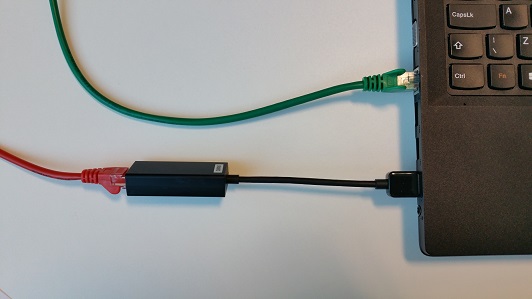
Looking for better network separation?
If you would like even clearer network separation, then consider this. VirtualBox is loading a USB kernel driver into your host OS. So remove all the network cards from the VM, now the system does not share the host systems network adaptor at all. Now connect a USB Ethernet Adaptor to the PC, and create a USB filter.
Immutable images vs Snapshots
My original option was to use the VirtualBox immutable image setting for the main guest drive, and then the differencing file would be automatically thrown away when the system went through a full power off and power on cycle. (All changes are lost when the virtual machine is powered on the next time, as this is when the temporary differencing file is removed). I noticed issues however where this was not removing the differencing files correctly and I was ending up with several, or I would revert the image to ‘normal’ mode to install updates, and these updates would go into a differencing image. I therefore recommend snapshots at this time, which also helps keep this straight forward as you will need to be used to reverting and creating new snapshot for the patch/update process.
Thoughts?
Would like to here your thoughts and ideas, please comment below.
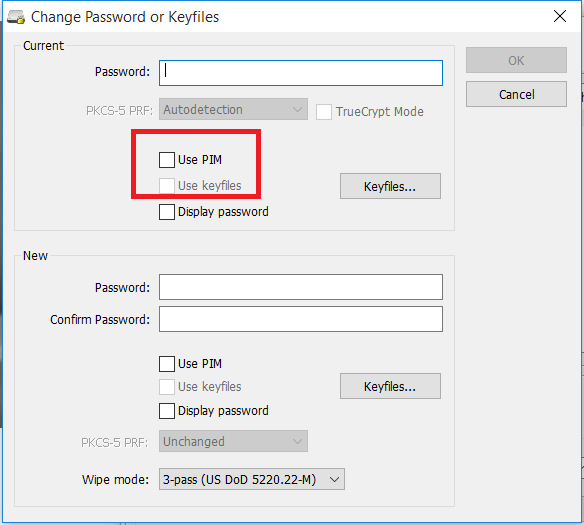
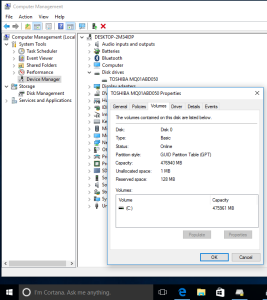
 If you have upgraded to Windows 10, it is likely you will run into problems enabling full disk encryption / system encryption with VeraCrypt due to the GPT configuration of your disk.