You can use S/MIME certificates, also called “Digital Certificates” or “Personal Certificates”, with most email clients to digitally sign and/or encrypt email messages. In order to digitally sign or encrypt your email, you will need a digital certificate.
For a run down on how to get a certificate, and also how to use it in Outlook 2016, see my earlier post: Digitally signing email with S/MIME and Outlook 2016
In order to use this certificate to sign email from your iPhone, you are going to need to transfer the public/private key pair to your phone, install it, and configure it for use. In this example we will build on the exchange/Office365 model, and continue where I left off on the previous post.
Contents
Getting a certificate
See my earlier post: Digitally signing email with S/MIME and Outlook 2016
Transferring a certificate to the iPhone
There are a number of ways, however in every case I would recommend you secure the key with a strong passphrase and transfer as securely as possible.
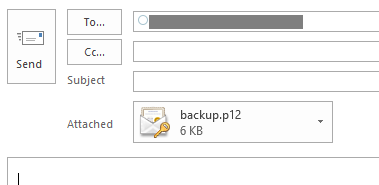
In this example we will send it to ourselves in an email, keeping it within the same account, that we have connected to over a TLS session. I do not recommend emailing this in any other way. We will then purge the email from the server as we need to keep this file safe. A direct file copy maybe better, so you could investigate that. For this example, we will send an email message with the certificate file as an attachment to ourselves within the same account. The file will be either a .p12 or .pfx file, that is also passphrase protected.
Installing the certificate
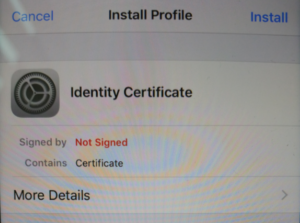
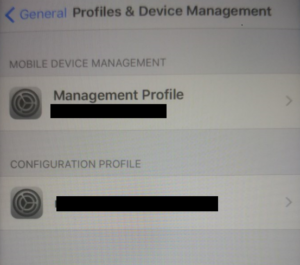
On your iOS device, open the email message. Tap the attached file to start the installation. On the “Install Profile” screen, tap Install. You may see a warning that the profile is not signed, tap Install and then Install again.
When prompted, enter the passphrase created when exporting the certificate.
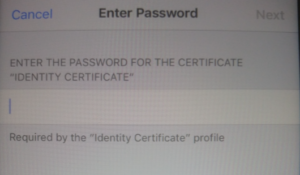
Tap Next, and then Done.
Configuring Apple Mail
Access your account settings:
iOS 11: Go to Settings > Accounts & Passwords.
Earlier versions: Go to Settings > Mail > Accounts.
Select the email account that the certificate relates to.
Tap the Account button with your IU email address.
On the “Account” screen, tap Advanced Settings, then switch the “S/MIME” setting on. The “Sign” and “Encrypt” options are off by default.
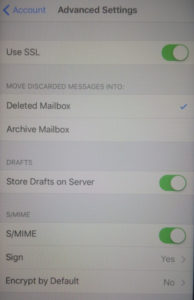
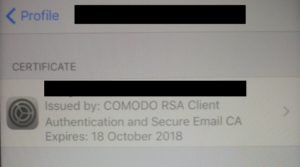
To enable digital signing, tap Sign, and then slide “Sign” to the on position. If you have installed multiple certificates on this device, ensure the check is next to the correct and current certificate. To verify, tap the right arrow to view the certificate details.
The encryption option will attempt to encrypt all email from your device, I will cover this in a seperate post and link to it here. For now, we do not want to encrypt all email sent from the account by default, so do not enable encryption.
Digitally Sign Email
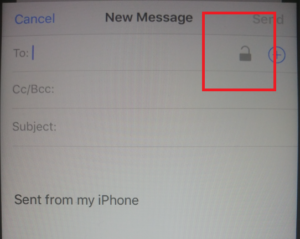
When you create an email, you should see the padlock in the top right, if so, then it’s likely all will be well.
Send a test email and verify the certificate! In Outlook, you will see the red rosette icon by the message as shown below.

Hope this helps!